Happiness is Just a DIY Project Away
 |
| The International Day of Happiness is just around the corner |
In 2011, special advisor to the United Nations Jayme Illien conceptualised the idea for a new global awareness day for happiness, and two years later, the first International Day of Happiness was observed on March 20, 2013, to be celebrated on every March 20 all across the globe.
Celebrated to raise awareness that happiness is a basic human need, the International Day of Happiness encourages you to do anything that makes you happy. For many people around the globe, being at home is the happiest thing in the world, but others could make their home an even happier place.
Planning a painting project for your walls by adding some colour and patterns to it is a good start. You can even involve the whole family, turning this project into a fun activity to bond over. One of the easiest patterns to put on a wall is the honeycomb pattern. Not only is it pleasant to look at, it can be arranged in numerous ways, depending on the shape and size of your wall. Here is a step-by-step guide on how to add honeycomb patterns to your home.
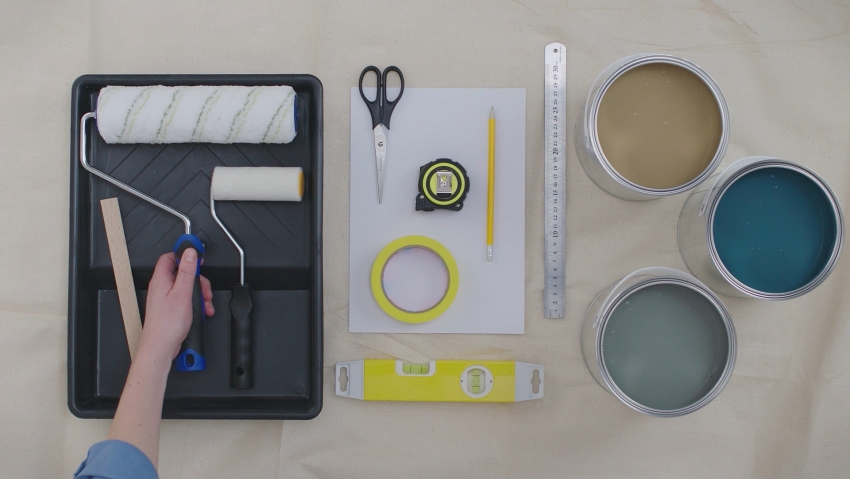 |
| Relatively little is needed for the honeycomb pattern |
In this tutorial, AkzoNobel opted for three different colours – Dulux’s Colour of the Year Spiced Honey also known as Crème Brulee (00YY 26/220), Global Waters (50BG 11/123), and Thundercloud (10GG 26/046).
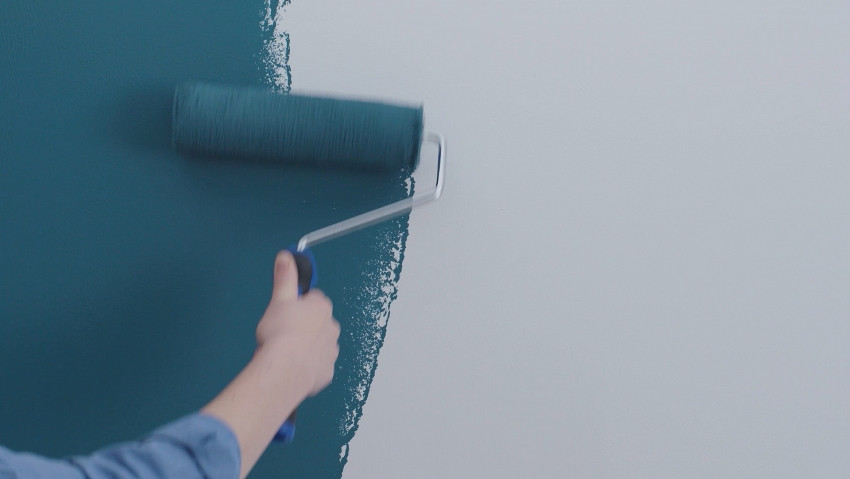 |
| First, paint the area of your wall with a single base colour. For our example, we went with Global Waters, but if you have another colour in mind, you could use the Dulux Visualiser app to see how different colours would look on your wall before you commit to a purchase. Once the base paint has dried, it is time to mark the “trajectory” of the honeycombs |
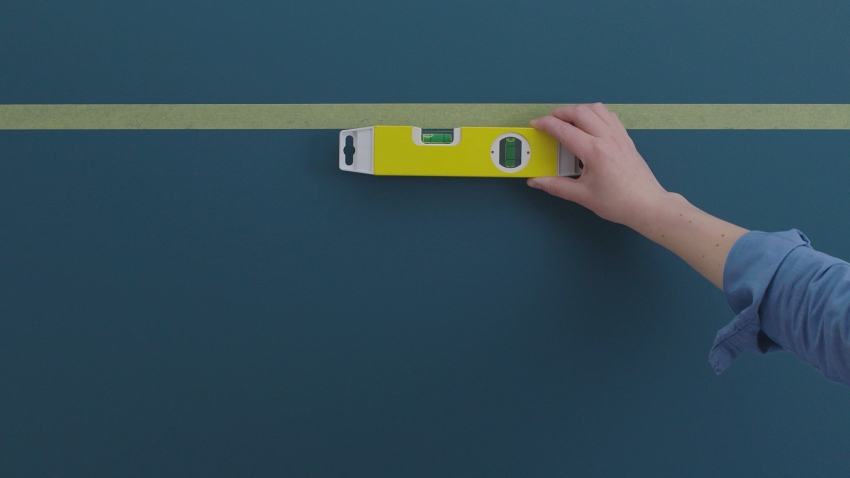 |
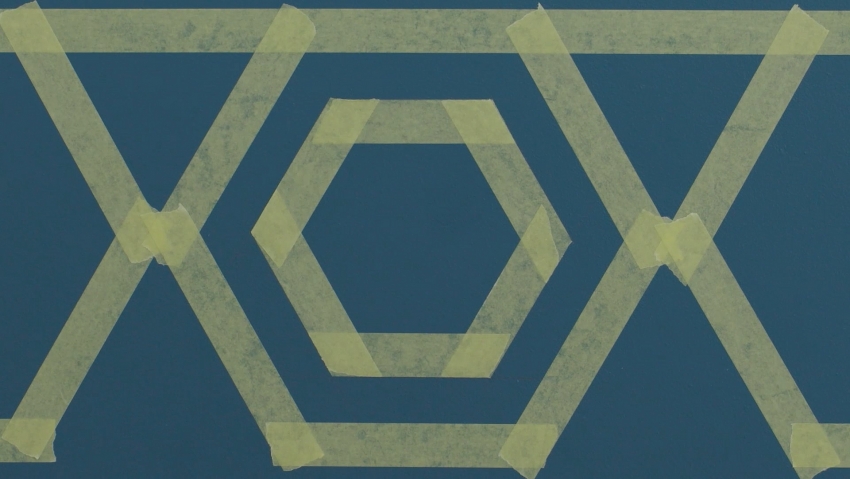
| To create the “trajectory” for the honeycombs, use masking tape. Ensure that the tape is straight by using a spirit-level. When you’re happy with the general placement of the honeycombs, you can now start creating the templates for the honeycombs |
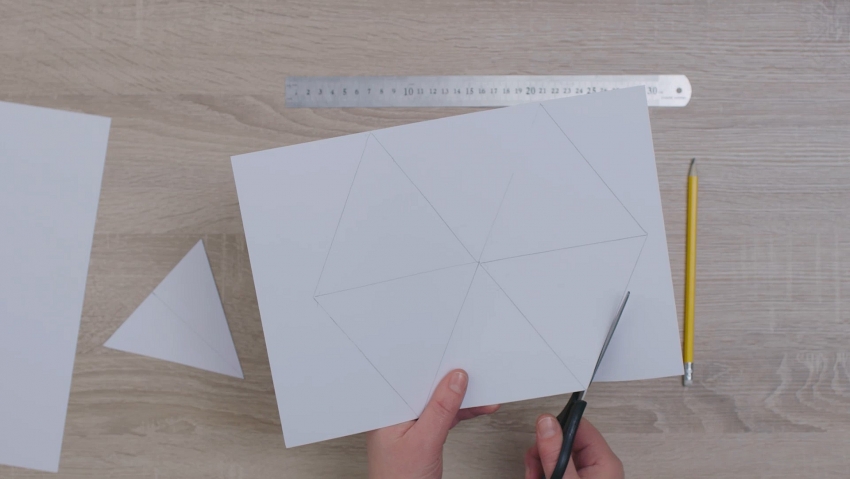 |
| Use a ruler and pencil to draw and cut out a triangle that is equally long on all sides. Using this triangle, create as many hexagons as you will need for this project |
 |
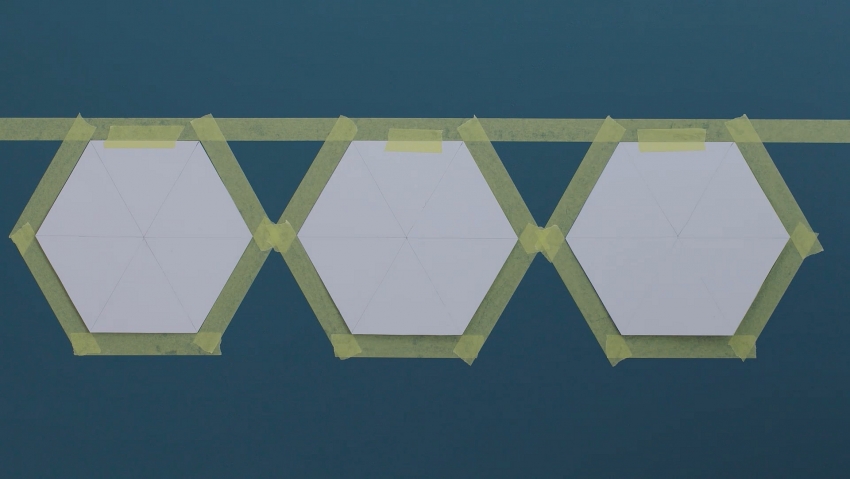 |
| Once that is done, use masking tape to mark the outer edges of each hexagon, and remove the hexagon for a stencil. If you would like to create an outline instead of a solid shape, repeat this step using smaller hexagons inside of the stencil |
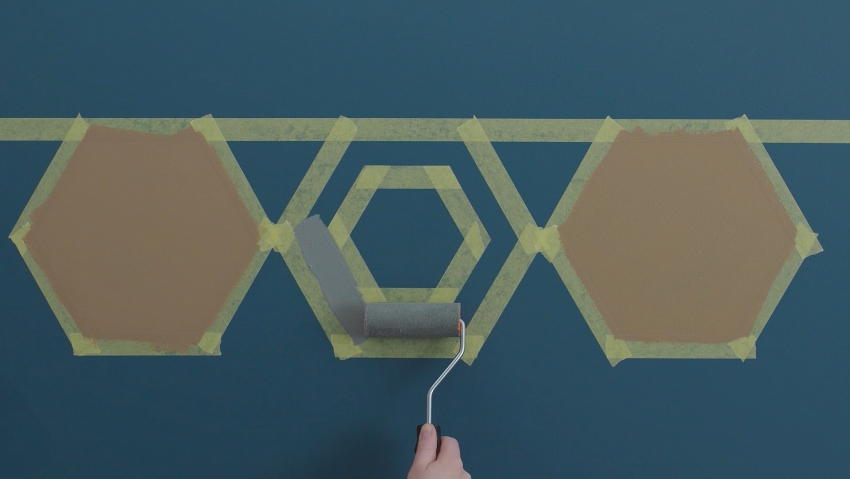 |
| You’re now ready to paint! Use a small brush or roller to fill in the shapes with the paint colours of your choice. You could use the same colour for all your honeycombs, or even mix things up a little by using different colours |
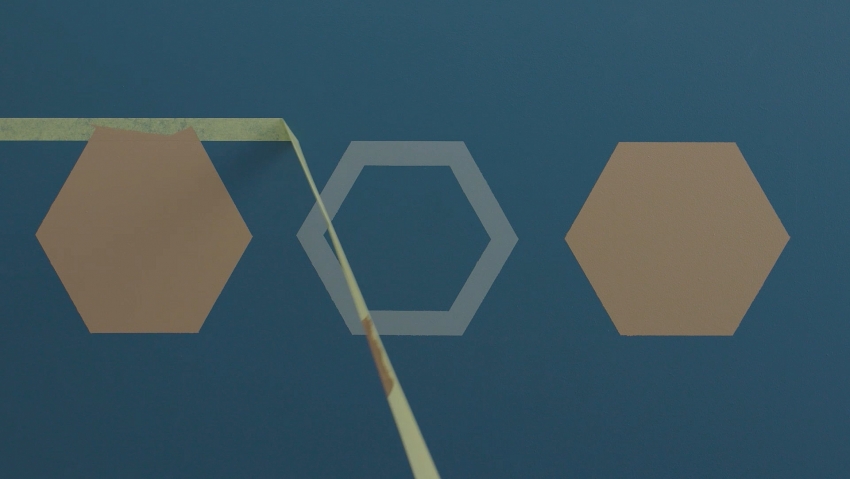 |
| While the paint is still a little wet, remove the masking tape to see the honeycomb pattern! |
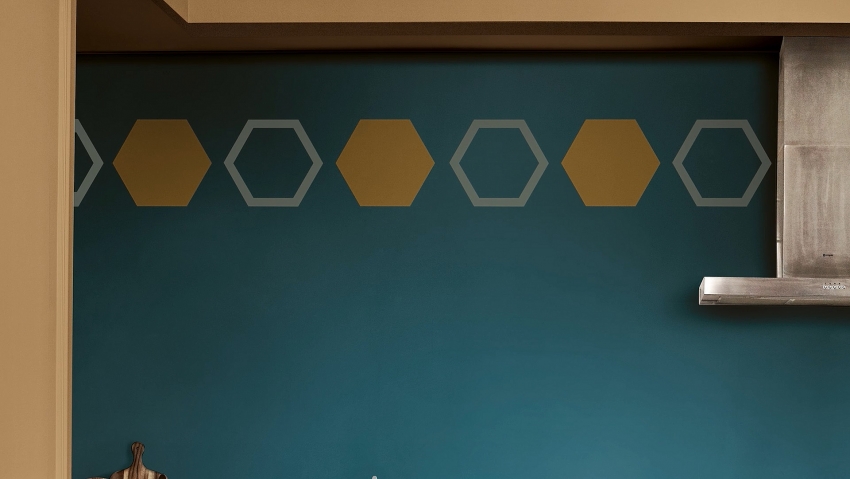 |
| Now that you know how to add a honeycomb pattern to your wall, you can add a dash of sophistication to any room in your home. With plenty of ways to arrange the honeycomb and the freedom to go with any colour that tickles your fancy, there’s plenty of possibilities to explore and put a smile on your face |
What the stars mean:
★ Poor ★ ★ Promising ★★★ Good ★★★★ Very good ★★★★★ Exceptional
Related Contents
Latest News
More News
- State corporations poised to drive 2026 growth (February 03, 2026 | 13:58)
- Why high-tech talent will define Vietnam’s growth (February 02, 2026 | 10:47)
- FMCG resilience amid varying storms (February 02, 2026 | 10:00)
- Customs reforms strengthen business confidence, support trade growth (February 01, 2026 | 08:20)
- Vietnam and US to launch sixth trade negotiation round (January 30, 2026 | 15:19)
- Digital publishing emerges as key growth driver in Vietnam (January 30, 2026 | 10:59)
- EVN signs key contract for Tri An hydropower expansion (January 30, 2026 | 10:57)
- Vietnam to lead trade growth in ASEAN (January 29, 2026 | 15:08)
- Carlsberg Vietnam delivers Lunar New Year support in central region (January 28, 2026 | 17:19)
- TikTok penalised $35,000 in Vietnam for consumer protection violations (January 28, 2026 | 17:15)

 Tag:
Tag:



 Mobile Version